Introduction
The purchase of a home is often the largest investment you’ll ever make. It’s also a huge responsibility—one that comes with many considerations and anxieties. You have to consider how much you can afford, whether your family will like the neighborhood, and even how many bedrooms are in the house. One thing that doesn’t always get as much attention is making sure that your new home isn’t falling apart before you even move into it! That’s where home inspections come in: they’re an opportunity for professionals to look over your potential new property and give you peace of mind about any issues they find that could pose problems later down the road (like water damage or mold growth). However, not all issues found on home inspections are created equal—some can cost thousands upon thousands of dollars to fix while others aren’t as costly or even necessary for repair. So what exactly should a buyer expect when having their new abode inspected? Below we outline eight common issues found during home inspections:
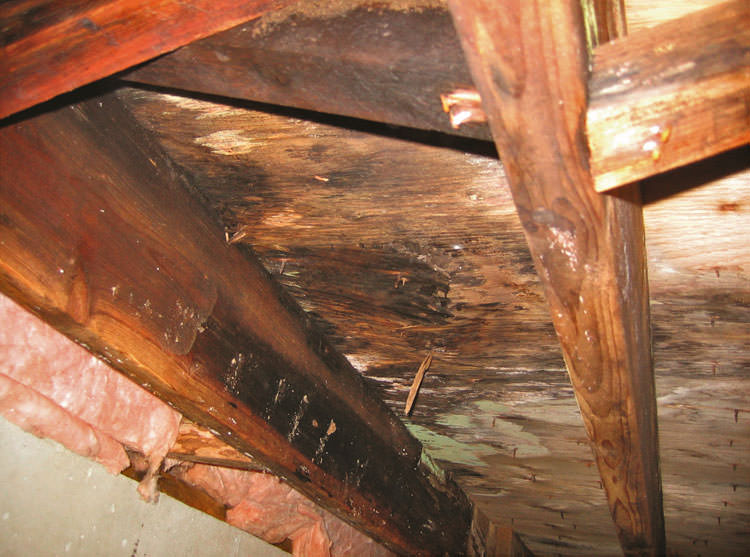
Mold growth
Mold growth can be dangerous, and a home inspector will look for signs of it during inspections. Mold is common in damp areas like basements, bathrooms, or crawl spaces. It can also be found growing on walls or ceilings as well as in carpets or on furniture.
Mold can cause respiratory problems such as asthma and allergies. In rare cases, it may even lead to more serious infections like eye infections or skin rashes (also known as allergic contact dermatitis). If you have an allergy to mold then this is something that should be considered when looking at homes with potential mold issues.
Mold grows best in warm temperatures so inspecting your home during fall/winter months will help you identify any possible sources of moisture before they start growing out of control over the next few months!
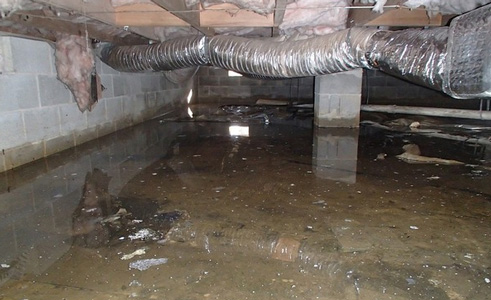
Water leaks
Water leaks are a common problem in homes, and they can often be difficult to detect. There are several different types of water leaks that can occur:
- Leaks around windows and doors
- Leaks from the roof or ceiling
- Leakage on pipes or under sink fixtures
Water leaks can lead to mold growth, mildew growth, rotting wood, structural damage, and even electrical problems. Water leaks should be checked for as soon as possible because if left untreated for too long it could cause foundation issues or flooding.
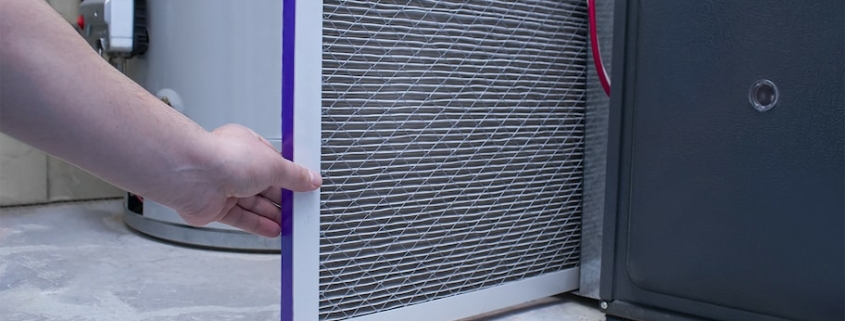
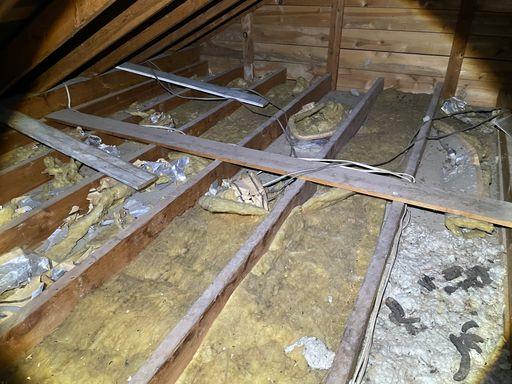
Insulation deficiencies
Insulation is a must for energy efficiency. Adding insulation to your home can help you save on heating and cooling costs. You may want to consider insulating an existing home or adding insulation to a new home. Insulation can be added to the attic, walls, and floors of your home. If you have a basement, you may also want to add insulation there so that it stays dryer than normal basements tend to be
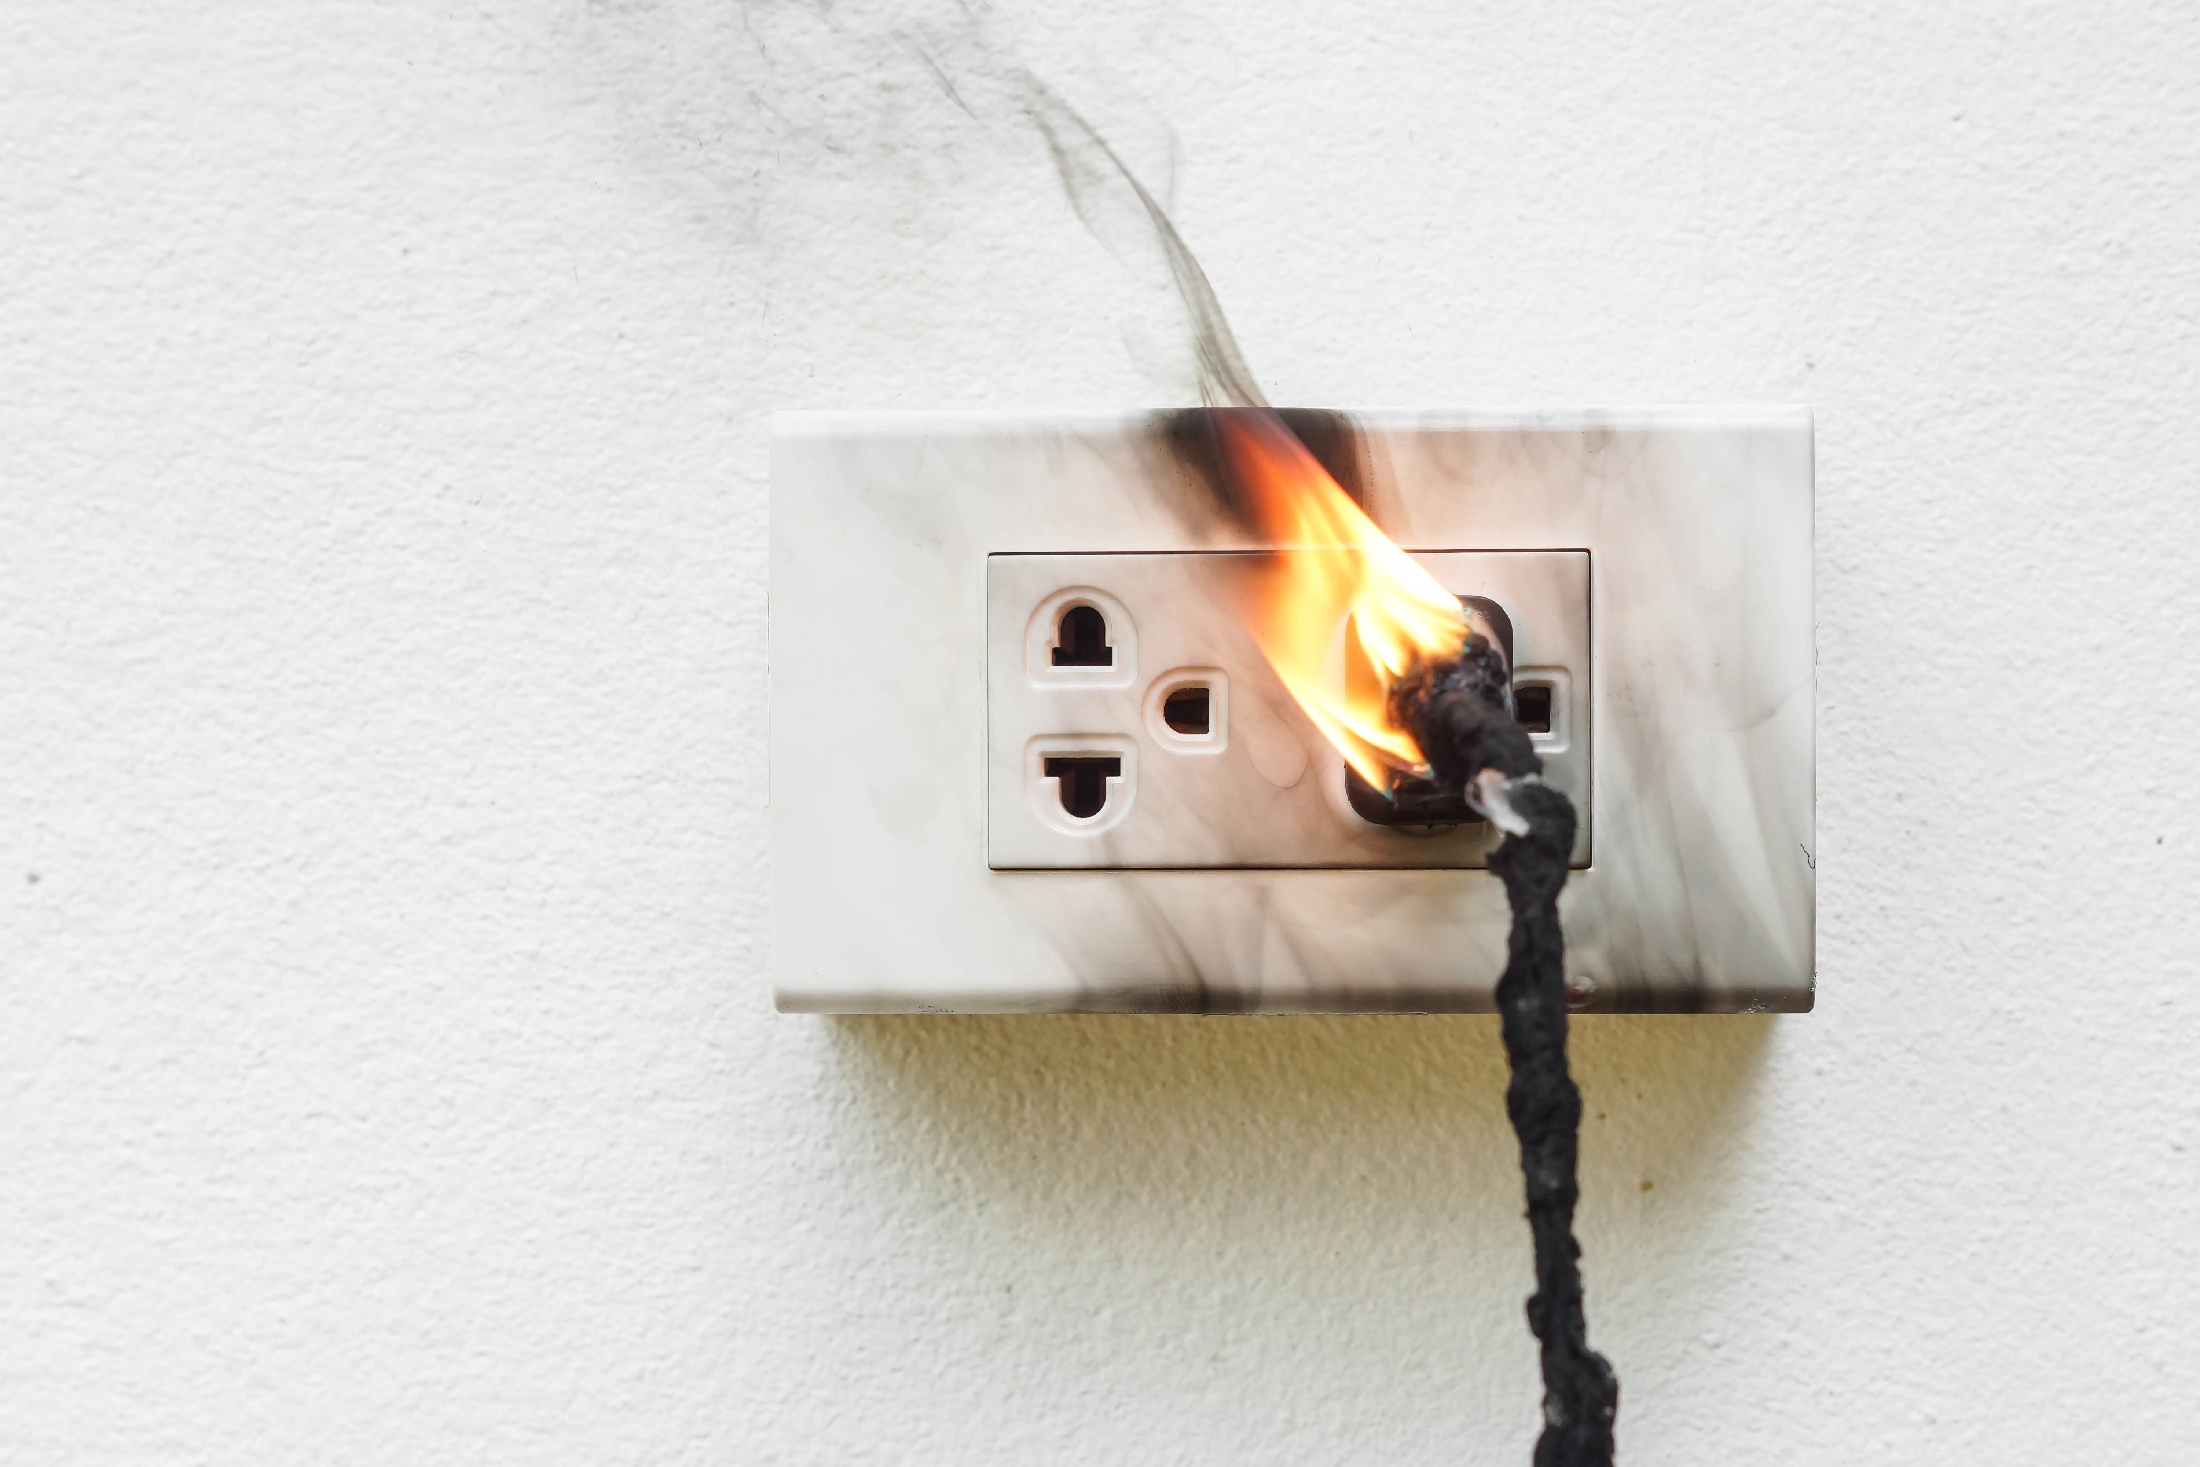
Electrical problems
Electrical problems can be a fire hazard, and they’re not always easy to fix.
- Electrical problems are fairly common, but they can also be expensive to fix.
- It’s best to try and avoid electrical problems by planning ahead and having your home inspected before you buy it.
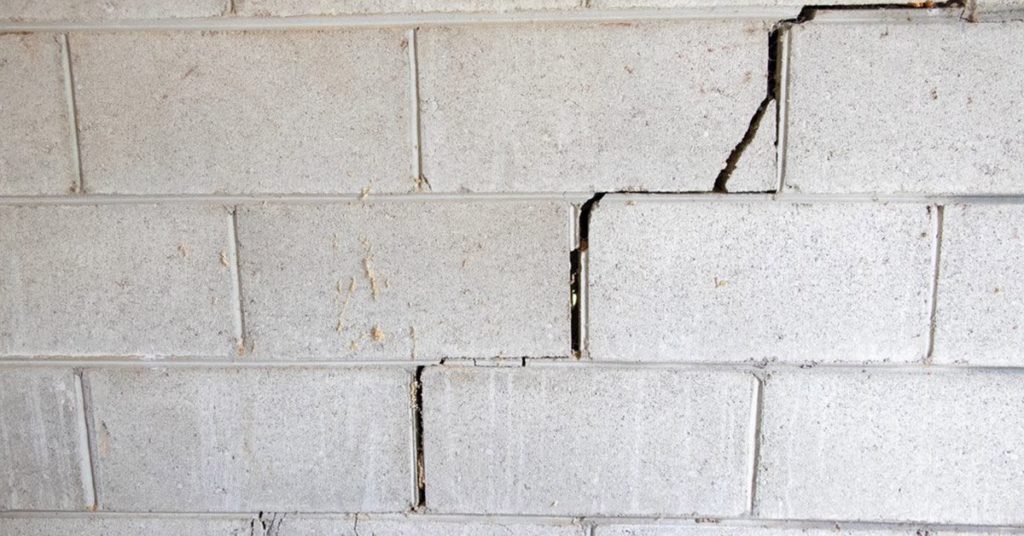
Cracked foundation problems
Foundation cracks can be caused by a number of issues, including:
- Poor drainage
- Water pressure from irrigation systems
- Ground shifts that occur over time due to changes in soil temperature, moisture levels and erosion
If your home inspector finds cracks around your foundation, there are many ways to repair them. The cost of repair will depend on the size and depth of the cracks. Cracks can also be an indicator of other foundation issues so it’s important for you to contact an expert who can assess whether or not your home needs additional work done.
Negative drainage
Negative drainage is when water flows away from the house. This can lead to basement or crawlspace moisture, which can damage your property and be a breeding ground for mold and mildew.
A home inspector must look for signs of negative drainage, including:
- Poorly draining front and backyard areas that show standing water after a rainstorm.
- Sunken areas in your lawn, indicating poor grading or surface drain problems.
Although it’s hard to fix this issue without major renovations, there are a few things you can do to prevent it:

Landscaping problems
If you’re considering installing a water feature or plan to build a deck, you should be aware that many homeowners make the mistake of not having proper drainage in place. This can result in water pooling on your property, which can lead to ponding and soggy soil that alters the landscape’s appearance and potentially damages your house’s foundation.
Another common landscaping problem is an overgrown lawn or garden. If there are large areas where grass has been allowed to grow without being mowed or trimmed for some time, it may be difficult for you to maintain your yard properly going forward because it will require more attention than would otherwise be necessary during this time period when you are trying hard to keep up with all of your other duties as well as handle any renovation projects underway at home such as kitchen remodeling projects that require new cabinets installed throughout much larger areas than originally anticipated before starting work so there was no room left over from our initial estimate given by another contractor who didn’t know what they were doing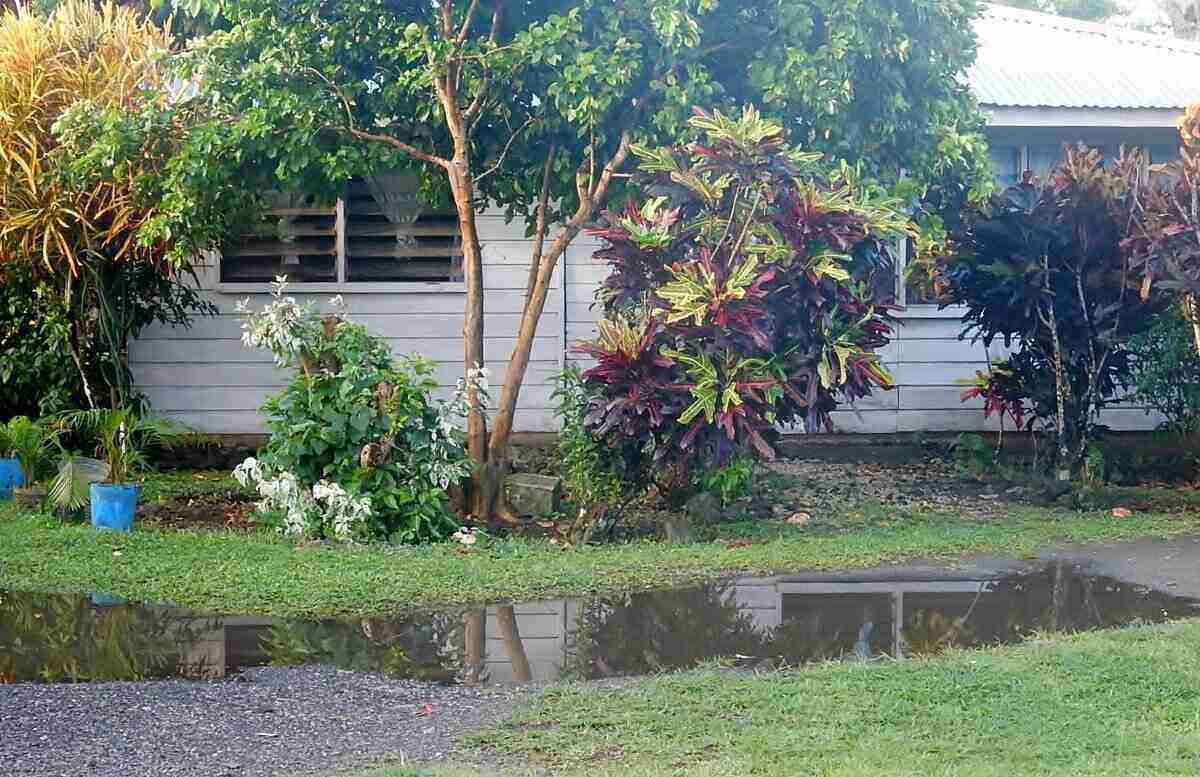
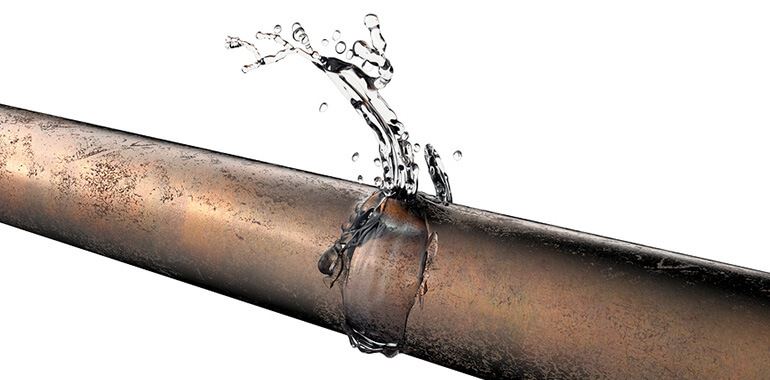
Plumbing leaks
If you have a plumbing leak, it could be costing you more than just the water bill. A leaking pipe can cause damage to your home and even lead to mold growth. Plumbing leaks are often hard to spot, so it’s important that your inspector checks for them during their inspection of your home.
- What causes plumbing leaks?
The most common cause of a plumbing leak is when a pipe becomes corroded or otherwise damaged over time. This can happen due to age, wear and tear from being exposed to harsh chemicals or high heat (such as hot water heaters), or simply poor installation practices by subcontractors at the time of construction/remodeling projects.
Common issues found during home inspections are sometimes costly to fix.
Common issues found during home inspections are sometimes costly to fix.
- Mold: This can be an expensive problem, depending on the severity of it. You may need to replace drywall or flooring and possibly the entire bathroom if it’s not salvageable.
- Water leaks: If your home has a leaky roof or plumbing issue, you will likely incur significant damage in your home over time from water damage and mold growth.
- Insulation deficiencies: If your attic isn’t insulated properly, your utility bills could skyrocket by $200-$300 per month!
- Electrical problems: Electrical shorts/faults often lead to fire hazards as well as shorted-out appliances like lights or electrical outlets that cause them not to function properly at all! Be sure these issues are fixed so they don’t become a problem later on down the road!
Conclusion
Home inspections are beneficial for both buyers and sellers. Buyers can get an idea of what’s wrong with a house before they buy it, while sellers can take advantage of their knowledge to make necessary repairs in order to sell their homes quickly at the best price possible. If you want to avoid spending money on costly repairs later down the road, it may be worth getting one done right now!