Introduction
Buying a home is one of the most exciting and stressful experiences you will ever encounter. You have so many questions about what to look for, who should handle the transaction, how to get the best financing terms, etc., that it can be easy to forget about other important details. One of these details is having a home inspection performed before closing on your new home. The benefits are numerous—from helping save money on repairs down the road to gaining peace of mind knowing everything works well at this current moment in time—and they’re all worth considering if you’re buying or selling real estate in any way shape or form!
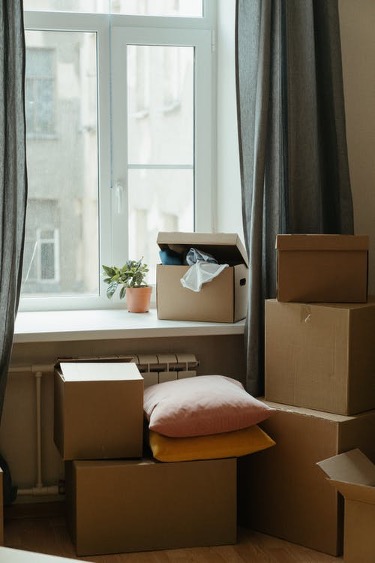
Even if you aren’t selling your home, it is important to stay on top of necessary maintenance.
Even if you aren’t thinking about selling your home, it is important to stay on top of necessary maintenance. Regular inspections help you identify problems before they become serious and costly issues. A thorough inspection can also reveal hidden issues that may impact the value of your property.
A good inspector will find things that need attention now or in the future, so that when it comes time for an inspection again (or even when you go through the process of buying another home), there won’t be any surprises waiting for you!
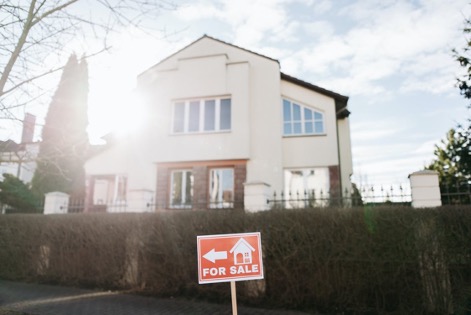
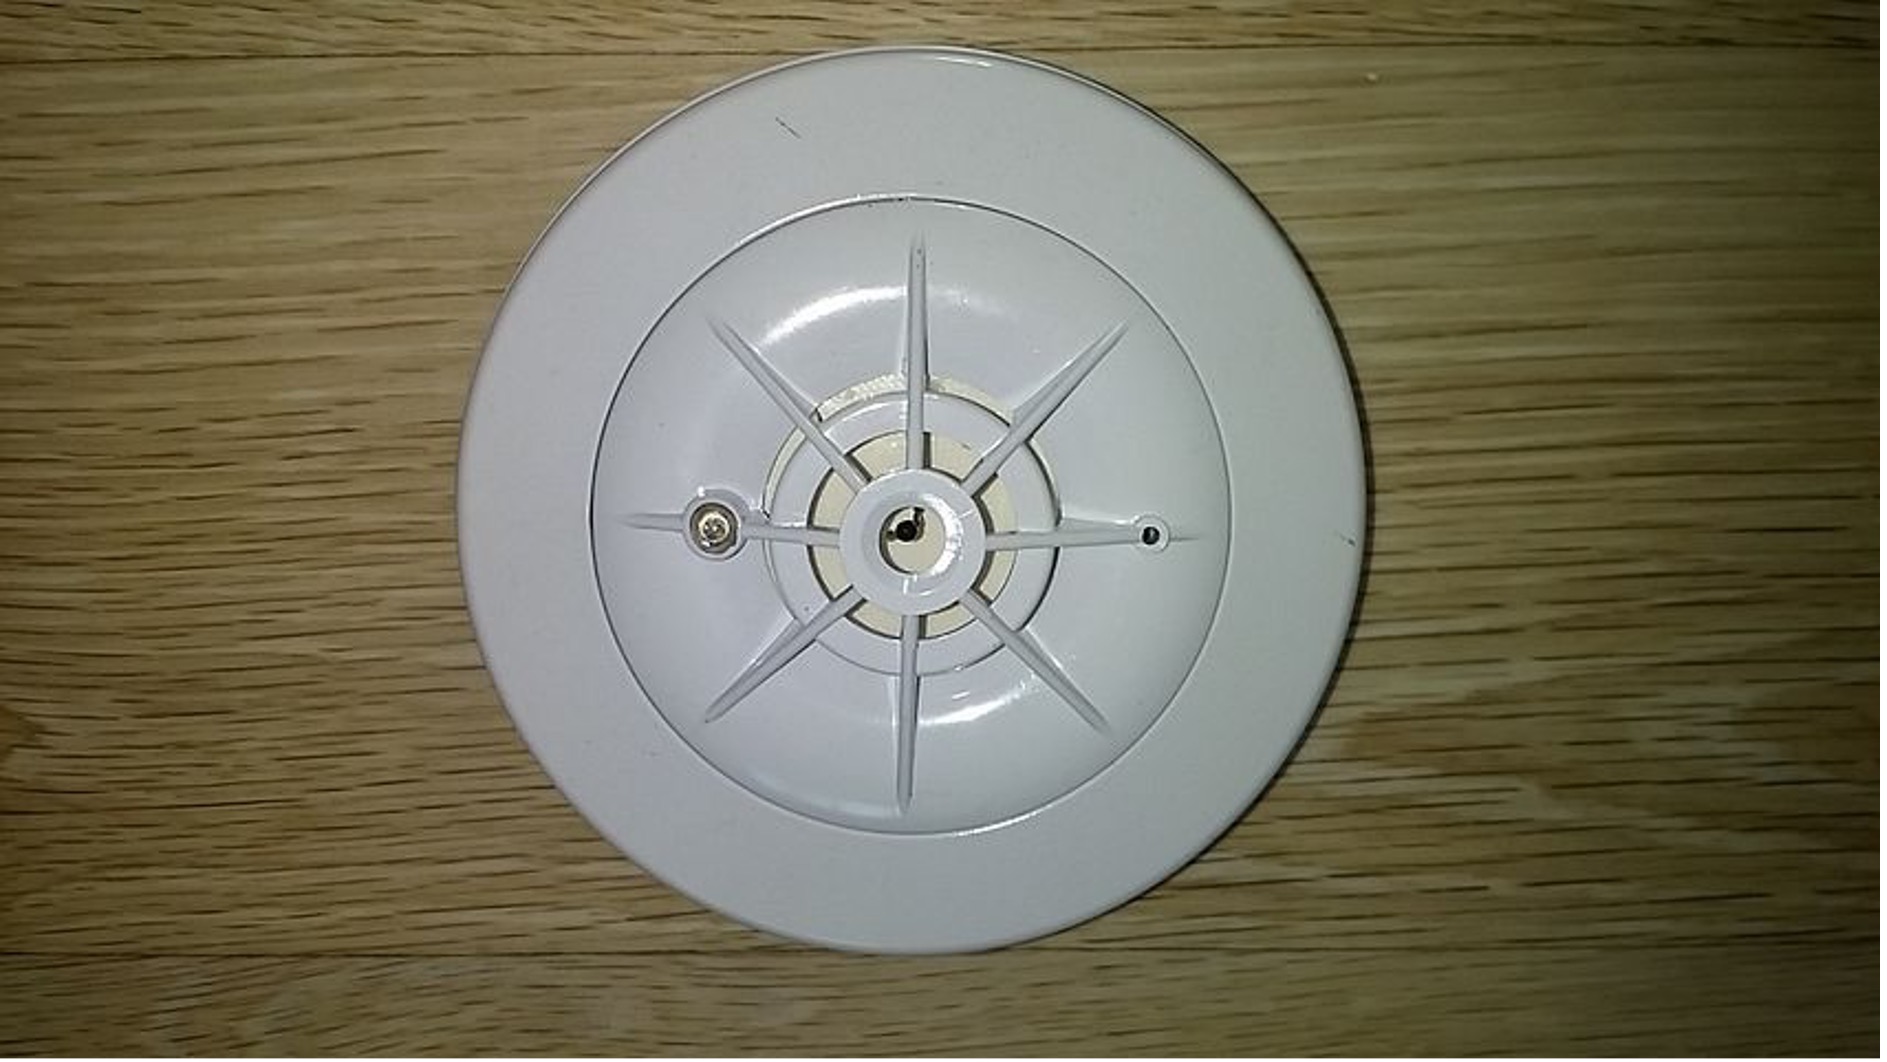
The inspector will check for issues that could affect the value of your home.
The inspector will check for issues that could affect the value of your home. If you’re selling, you want to make sure the home is in good shape so that it will sell quickly and for top dollar. If you aren’t selling and just want to keep a comfortable living environment, then an inspection can help identify problems that could cause health issues or even lead to fire hazards (which would not only be dangerous but also cost money).
If there are no major issues with your house after an inspection, then one less thing has been taken care of before moving forward with any other plans!
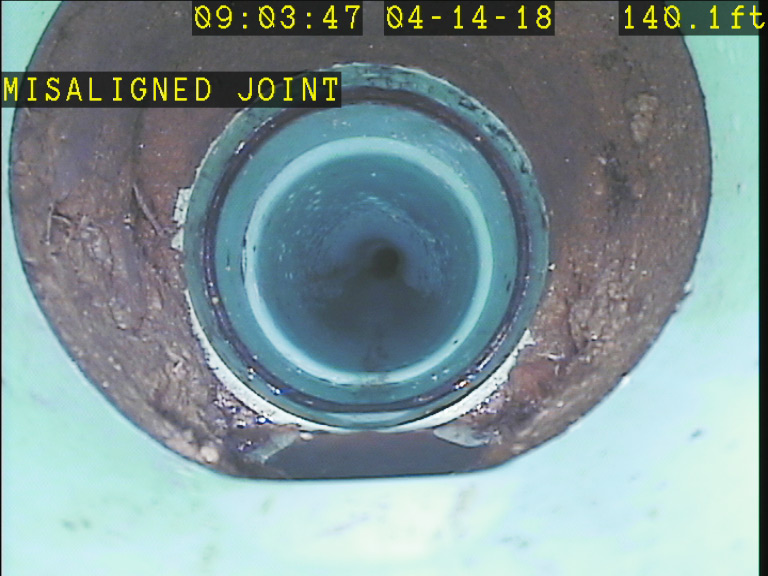
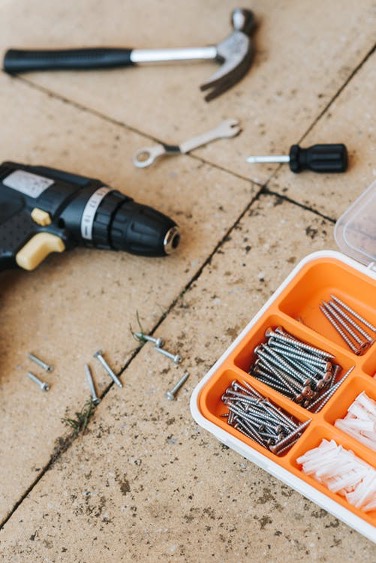
When you have an inspection performed, a list of the items inspected is provided and shows you what needs attention.
There are many reasons why you should have an inspection performed on your home. If you’re planning to sell the property, having it inspected can help ensure that the house you are selling is in good condition. The inspector will provide a list of items that need attention, whether they be repairs or maintenance tasks such as cleaning gutters or replacing filters in HVAC systems. This way, when potential buyers come through for their walkthroughs, there aren’t any surprises waiting for them!
If you’re not planning on selling but would like some peace of mind about what condition your home is currently in (or isn’t), then getting an inspection done could be useful too! It’s important for homeowners everywhere – regardless if they’ve recently bought their first home or have been living there for decades – because we never really know when something may break down unexpectedly until after it happens…and by then it might be too late.”
An inspection can give you peace of mind knowing that everything is in good working order.
The main reason to get a home inspection is peace of mind. If you know that everything is in good working order, there’s no need to worry about future problems or expensive repairs.
When buying a house, it’s easy to have blinders on when looking at the property itself–you can get caught up in how beautiful it is and forget that there may be issues hiding behind closed doors or under the floorboards. A professional home inspector will go through every inch of your house with a fine-toothed comb, checking for leaks and cracks in pipes; noting any wear and tear on electrical fixtures; inspecting windowsills for rot; looking under sinks for signs of water damage (and making sure they’re properly secured); etc…They’ll even check things like light switches/outlets/circuits for safety issues (such as loose connections), which could potentially save you from having an electrical fire down the road!
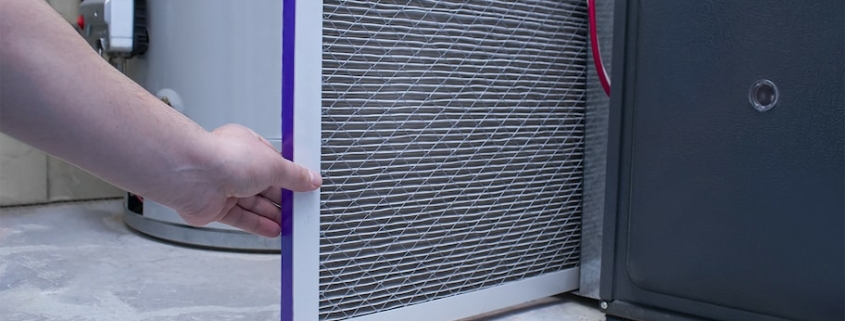
A homeowner should always keep up with routine maintenance checks on their property’s systems, including heating and air conditioning, plumbing, energy efficiency, electrical wiring and more.
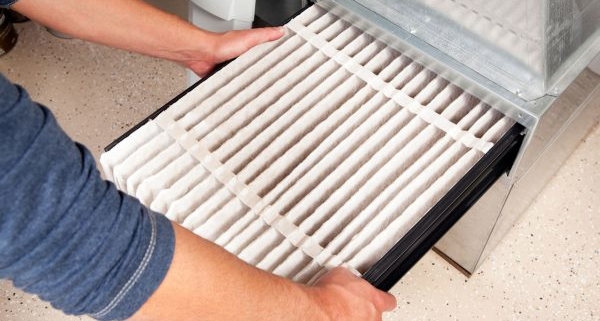
Regular inspections can help you keep your home in good shape and prevent major problems. They also allow you to stay on top of important maintenance tasks, such as replacing the air filters or checking faucets for leaks. Finally, they allow you to find out what needs attention before it becomes an emergency–and that’s especially important if you live in an older home with aging systems.
If there is any damage during an inspection, it may be minor enough that repairs are affordable without selling your house (for example, repairing a cracked window pane). But if more serious issues arise during an inspection–such as mold growth caused by water damage–you may need more money than what you could get from selling your house at this time (or perhaps ever). In this case, having access to funds from other sources could mean the difference between being able to fix these issues or being stuck living with them indefinitely
Conclusion
So, the next time you think about having an inspection performed on your home, don’t let the thought of selling it stop you. Even if you aren’t planning on moving anytime soon, it’s always a good idea to stay on top of your property’s maintenance needs and get them taken care of before they become major problems that cost more money than expected. And who knows? Maybe this little checkup will give you peace of mind knowing that everything is in good working order!